Makeup is an essential implement for enhancing the beauty of a woman. However, every woman has a unique facial structure that requires specific makeup techniques to enhance their natural features. If you have a round face, you must know the right makeup techniques to make your face look more defined and slimmer. This article will provide you with makeup tips for a round face to help you accentuate your features and look impressive.
Understanding Round Face Shape
Before diving into the makeup tips, it’s essential to understand the characteristics of a round face. A round face has a soft, circular shape, with a width that is almost equal to the length. The cheeks are the widest part of the face, and the jawline is not very defined. The goal of makeup for a round face is to create an illusion of a more defined jawline, and cheekbones, and lengthening the face.
Makeup Tips for Round Face
- Toner – Using toner before applying foundation is generally a good idea as it can help to prep your skin and create a smooth base for your makeup application. A toner is typically used after cleansing your skin to remove any remaining dirt, oil, or makeup residue, and it helps to balance the pH level of your skin.
After cleansing, you can apply toner to a cotton pad and gently wipe it over your face and neck, focusing on areas that are prone to oiliness or congestion. Once your skin has absorbed the toner, you can apply your moisturizer to hydrate your skin and provide a protective barrier. Toners are very important for the skin. By using toner, the skin becomes healthy .It closes the pores of the skin
Once your moisturizer has fully absorbed, you can apply your foundation. A smooth, even base will help your foundation to go on more smoothly and evenly, which can help your makeup look more natural and last longer throughout the day. So, using toner before foundation can be an effective step in your skincare and makeup routine.

- Moisturizer – Moisturizer use is very good for all skin. Moisturizer helps to hydrate and prepare the skin for makeup application, while also smoothing out any rough texture. Applying foundation directly to dry skin can lead to a cakey finish, so using a moisturizer can help to ensure a more even and flawless application. Additionally, using a moisturizer can also help to extend the wear time of your foundation and keep your skin looking hydrated and healthy throughout the day.
3. Lip Bum – Using a lip balm before applying foundation can be a good idea, especially if you have dry or chapped lips. Here are some steps you can follow:
Apply your lip balm liberally to your lips, making sure to cover all lip areas.
Allow the lip balm to absorb for some minutes before moving on to your foundation.
Apply your foundation as usual, being careful not to smear it onto your lips.
If you do get some foundation on your lips, use a tissue to blot it off.
By applying lip balm before foundation, you can help create a smooth surface for your lipstick or lip gloss to adhere to later in your makeup routine. Normally, it can prevent your lips from drying out during the day. Lipstick can be applied better by using lip balm.
- Primer – Makeup primer is a cosmetic product that is applied before foundation or other makeup products. Makeup is smoother and brighter with the use of a primer . The main purpose of using a makeup primer is to make the makeup last longer and look more flawless by filling in pores, fine lines, and wrinkles.
To use a makeup primer, start with clean, moisturized skin. Apply a pea-sized amount of primer to your fingertips and gently massage it onto your face in a circular motion. Be sure to cover your entire face, including your eyelids and lips, with the primer.
Allow the primer to dry for a few minutes before applying your foundation or other makeup products. You can also use a makeup brush or sponge to apply the primer for a more even application.
There are different types of primers such as , water-based, or oil-based. So be sure to choose a primer that is balanced with your skin type and the type of foundation you are using.
Using a makeup primer can help your makeup last longer and look smoother by creating a barrier between your skin and makeup products. It’s an essential part of any makeup routine, especially if you want your makeup to look flawless for hours.
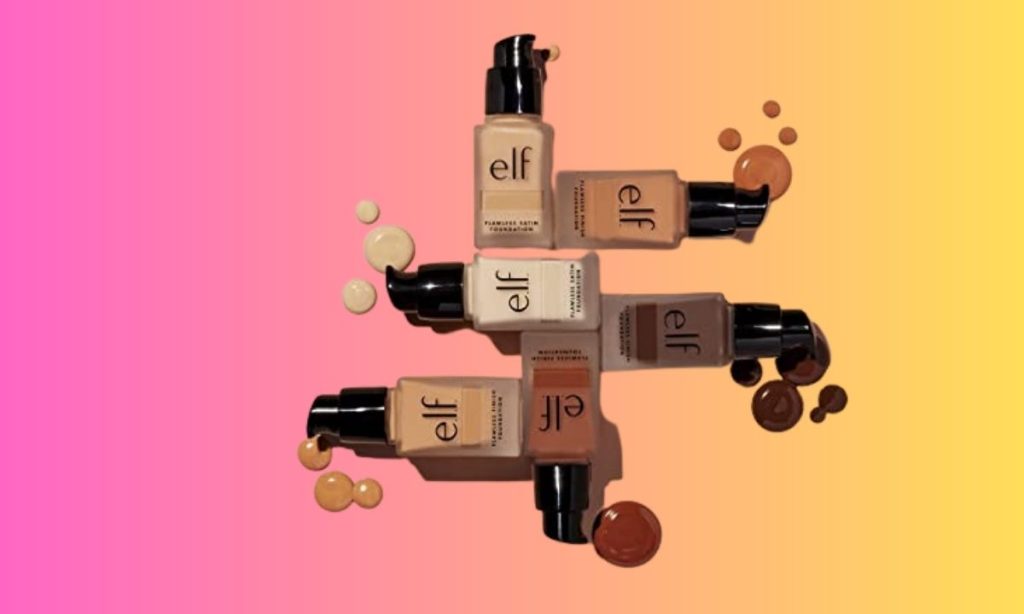
- Foundation – Foundation is an important component of makeup products. Using foundation will make the skin bright and smooth. Here are some steps to follow when using foundation:
Choose the right shade: It’s important to choose a foundation shade that matches your skin tone. You can test the shade by applying a small amount of foundation on your jawline and checking it in natural light.
Apply foundation: Use a makeup brush, sponge, or your fingers to apply foundation to your face. Start with a small amount and blend it outwards towards your hairline and jawline. Apply your foundation as you normally would to create an even base for your makeup. Build up coverage as needed.
Blend well: Make sure you blend the foundation well into your skin, especially around the edges of your face and neck.
Set with powder: After applying foundation, you can set it with a powder to help it last longer and prevent shine.
Apply the rest of your makeup: Once your foundation is applied, you can move on to the rest of your makeup routine.
To choose a foundation that works for your skin type and coverage needs. For example : if you have oily skin, you may want to choose a matte foundation that helps control oil. If you have dry skin, you may want to choose a hydrating foundation that adds moisture to your skin.
- Contouring -Contouring is very important for a round face. Contouring can help create the illusion of a slimmer, more defined face shape. Here are some steps to follow for contouring a round face:
Identify the areas to contour: Look at your face in the mirror and identify the areas you want to contour. For a round face, these areas are typically the temples, cheekbones, jawline, and the sides of the forehead.
Choose the right contouring product: Choose a contouring product that is a shade or two darker than your natural skin tone. This can be a cream or powder product.
Apply the contouring product: Use a small, angled brush to apply the contouring product to the areas you want to contour. Apply the product in a thin, even line and blend it outwards using a blending brush or sponge.
Blend well: Make sure to blend the contouring product well into your skin to avoid harsh lines. Use a blending brush or sponge to blend the product outwards towards your hairline and jawline.
Use a light hand when applying contouring products and to blend well to avoid any harsh lines. With practice, you’ll be able to create a natural, defined look that flatters your round face shape.

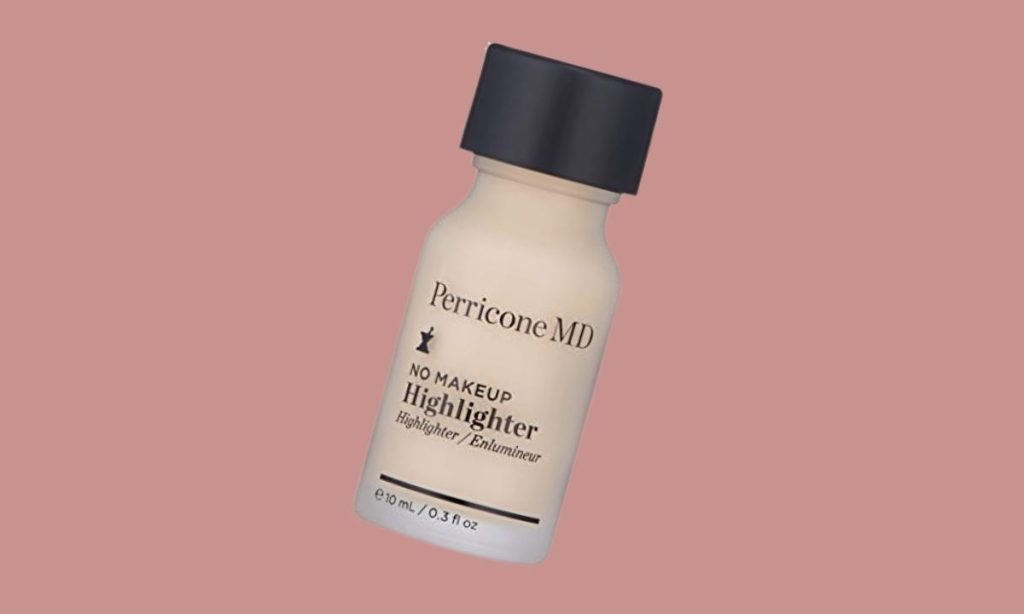
- Highlighting -Highlighting can help bring light to your face and enhance your features. Here are some steps to follow for highlighting a round face:
Identify the areas to highlight: Look at your face in the mirror and identify the areas you want to highlight. For a round face, these areas are typically the high points of your face, such as the cheekbones, the center of your forehead, and the bridge of your nose.
Choose the right highlighting product: Choose a highlighting product that is a shade or two lighter than your natural skin tone. This can be a cream or powder product.
Apply the highlighting product: Use a small, fluffy brush to apply the highlighting product to the areas you want to highlight. Apply the product in a thin, even layer and blend it outwards using a blending brush or sponge.
Blend well: Make sure to blend the highlighting product well into your skin to avoid any harsh lines. Use a blending brush or sponge to blend the product outwards towards your hairline and jawline.
Using a light hand when applying highlighting products and to blend well to avoid any harsh lines. With practice, you’ll be able to create a natural, glowing look that flatters your round face shape.
- Blush Placement – When it comes to applying blush for a round face shape, the goal is to create the illusion of a more angular and defined cheekbone area.
Here are some tips for blush placement on a round face shape:
Apply blush to the apples of your cheeks: Smile and apply blush directly to the fullest part of your cheeks. Blend outwards towards your temples and hairline. This will help to create a lifted effect on your cheeks.
Apply blush in a diagonal line: Sweep your blush brush diagonally from the apples of your cheeks towards the top of your ears. This technique will help elongate your face and create a more sculpted look.
Avoid applying blush too low on the cheeks: Applying blush too low on the cheeks can make a round face appear even rounder. Stick to applying blush to the apples of your cheeks or slightly above.
It’s important to blend your blush well to avoid any harsh lines and to create a natural-looking flush.
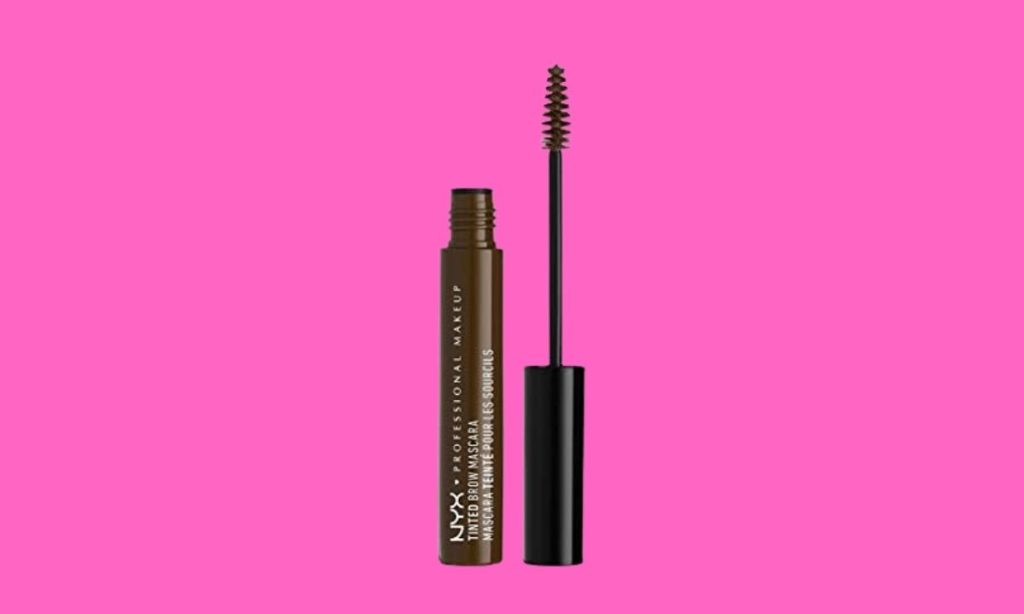
- Eyebrows – If you have a round face shape, you can create the illusion of a more oval face by shaping your eyebrows in a way that elongates your face. Here are some tips for shaping your eyebrows if you have a round face:
Go for a high arch: A high arch can make your face appear longer and more oval. Make sure the arch is gradual and not too steep.
Avoid round shapes: Avoid shaping your eyebrows in a round shape as this will accentuate the roundness of your face. Instead, go for a more angular shape that will help to create the illusion of length.
Keep the length: Make sure your eyebrows are long enough to extend beyond the outer corner of your eyes. This will help to create a more elongated look.
Don’t over pluck: Over Plucking your eyebrows can make your face look even rounder. Stick to plucking stray hairs and avoid removing too much from the bottom of your brows.
Consider getting them professionally shaped: If you’re unsure about how to shape your eyebrows, consider going to a professional. They can help you create a shape that flatters your face shape and enhances your natural features.
- Eye Makeup – If you have a rounded face, you can use eye makeup to create the apparition of a more angular and widening face shape. Here are some tips for eye makeup if you have a rounded face:
Create a cat eye: A cat eye can widen your eyes and make your face appear more angular. Use a liquid or gel eyeliner to create a winged effect on the outer corners of your eyes.
Use dark eyeshadows: Dark eyeshadows like black, brown, and deep purple can create depth and dimension on your eyes, making them appear more defined and angular.
Highlight your brow bone: Using a light, shimmery eyeshadow on your brow bone can help to lift and widening your eyes.
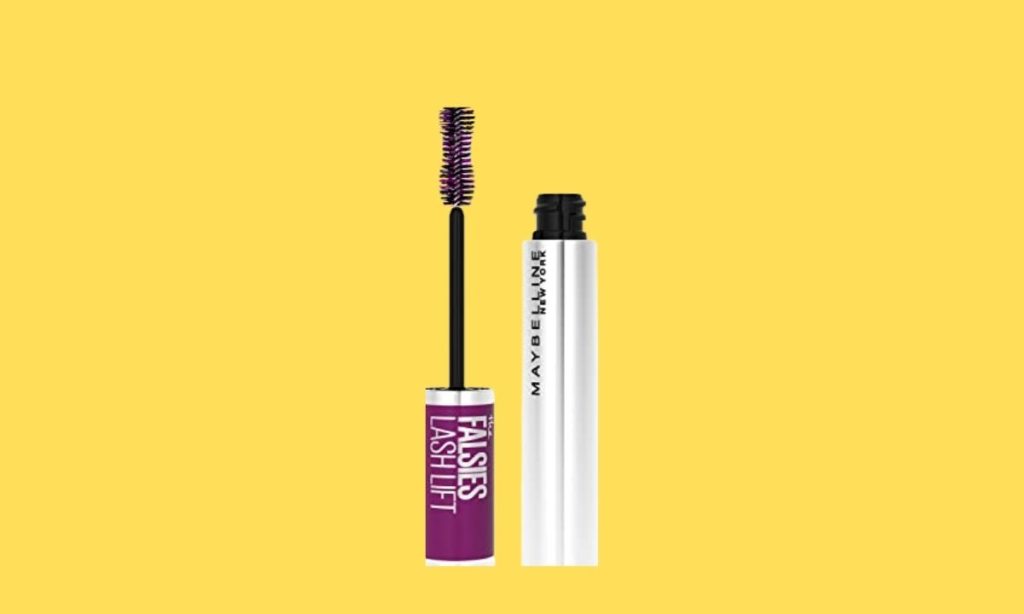
Use eye lashes: False eye lashes can make your eyes appear larger and more elongated. Choose a pair that has a longer length on the outer corners to create a winged effect.
Avoid heavy under-eye makeup: Heavy under-eye makeup like dark circles or heavy concealer can make your face appear rounder. Use a light, brightening concealer under your eyes to create a lifted effect.
To blend your eyeshadows well and keep the focus on the outer corners of your eyes to create a more angular and widening effect. Don’t be afraid to experiment with different techniques and colors to find what works best for you.
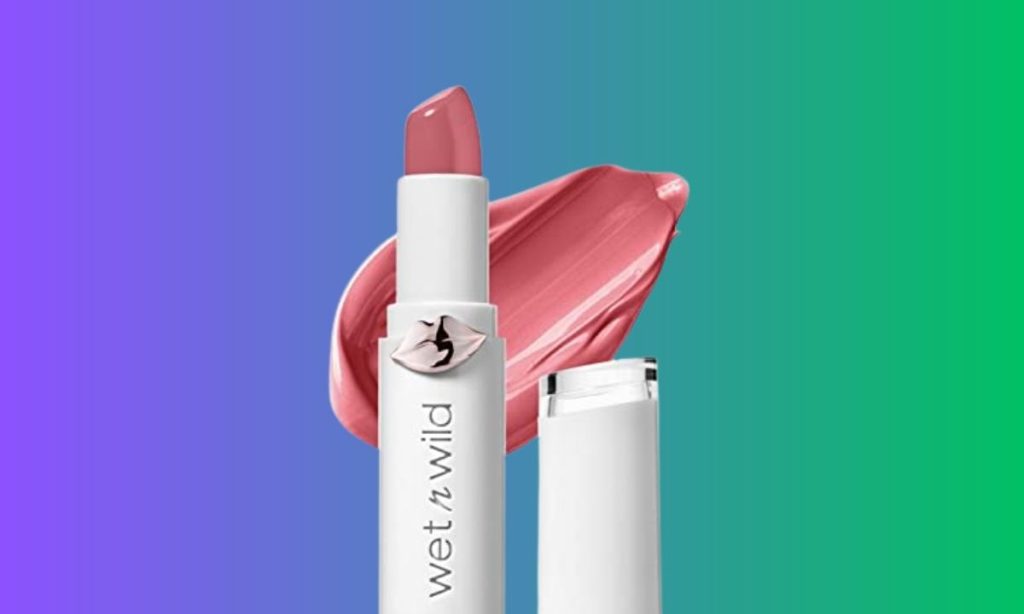
- Lip Color – There are many different lipstick shades and finishes that can flatter a rounded face shape. Here are some tips for choosing the right lipsticks for a rounded face:
Go for bold, bright colors: Bold and bright lipstick shades can help to draw attention away from the roundness of your face and create a more focal point on your lips.
Consider matte finishes: Matte lipsticks can help to create a more defined and angular look on your lips, which can balance out a rounded face shape.
Avoid glossy finishes: Glossy or shiny lipsticks can create a more rounded appearance on your lips, which may not be the most flattering for a rounded face.
Choose darker shades for depth: Darker lipstick shades like deep reds, plums, and burgundies can create depth and dimension on your lips, which can balance out a rounded face.
Try a lip liner: A lip liner can help to define your lips and create a more angular shape. Choose a shade that is close to your lipstick color to create a seamless look.
Remember to experiment with different shades and finishes to find what works best for you. Ultimately, the most important thing is to choose a lipstick that makes you feel confident and beautiful.
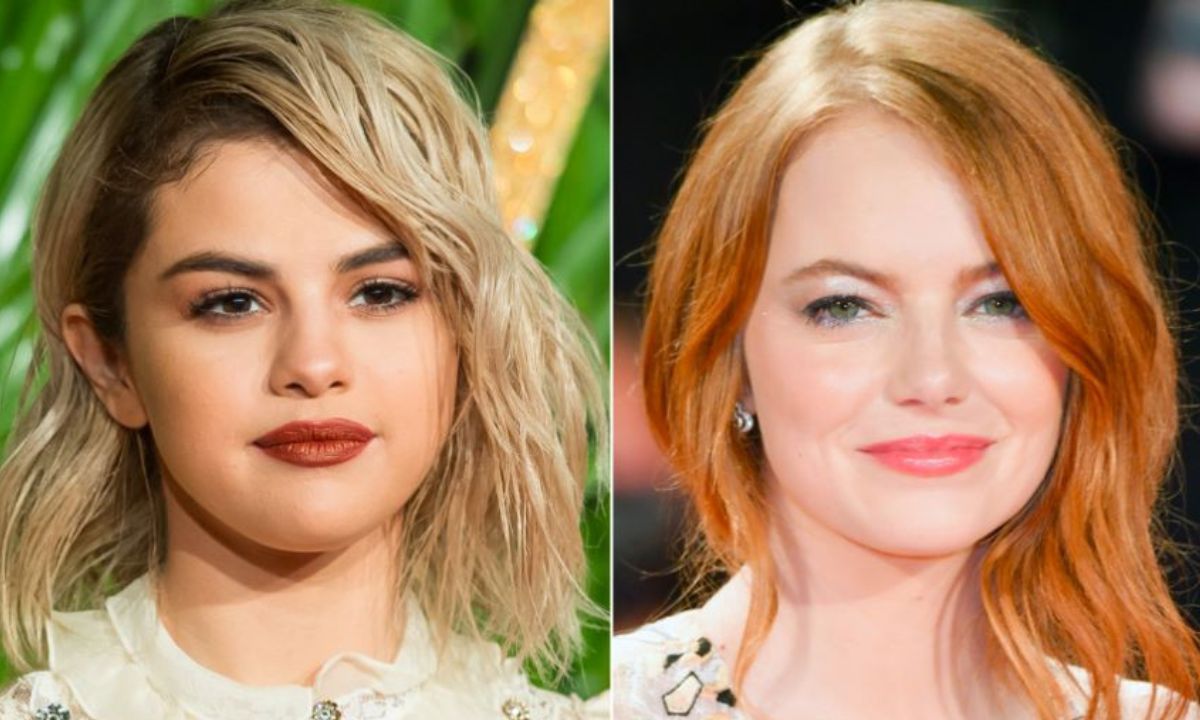
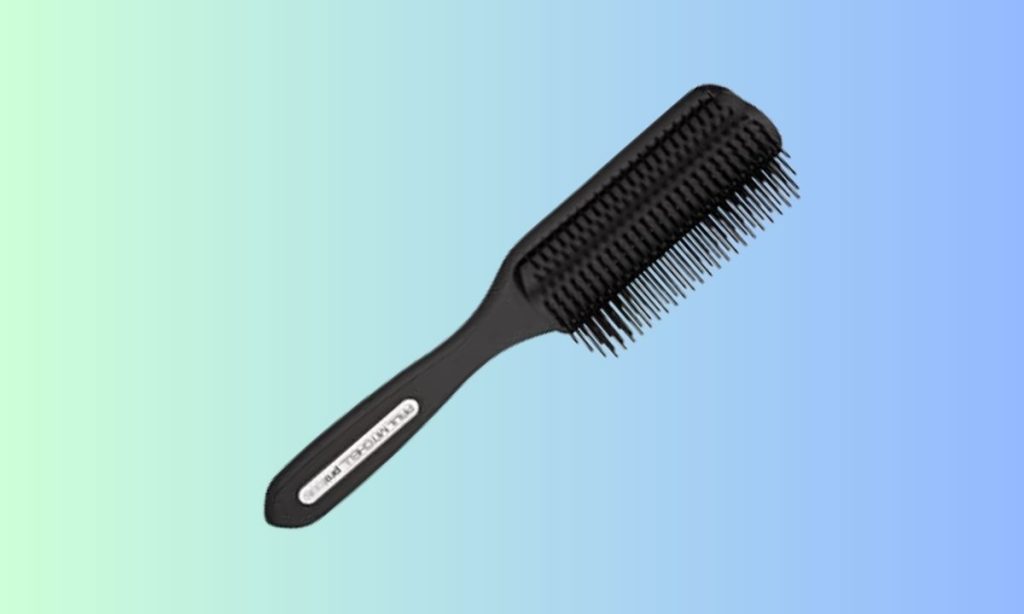
- Hairstyle – Hair style is the most important part of rounded face shape .Your hairstyle can also make a big difference in how your face looks. If you have a rounded face, you can try a variety of hair styles that can help to balance out the proportions of your face. Here are some ideas:
Long layers: A long layered haircut can help to broaden your face and create the apparition of more length. Ask your stylist to add long layers that frame your face and create movement.
Side-swept bangs: Side-swept bangs can help to break up the roundness of your face and draw attention to your eyes. They also help to create the illusion of more length.
Bob with volume: A bob that’s styled with volume at the crown can help to create the illusion of more height in your face, which can balance out a round face shape.
Messy waves: Messy waves can help to create texture and movement in your hair, which can help to distract from the roundness of your face. Use a curling wand or iron to create loose, tousled waves.
Pixie cut: A short, layered pixie cut can help to create the apparition of more height in your face, which can balance out a round face shape. Ask your stylist to add layers to the top of your hair to create volume and texture.
Ultimately, the best hairstyle for a rounded face is one that you feel confident and comfortable in. Don’t be afraid to experiment with different cuts and styles until you find one that works for you.
Conclusion
Makeup for a round face is all about creating an illusion of a more defined jawline, cheekbones, and lengthening the face.